Your Guide to a Perfect Birthday Card Handmade
A handmade birthday card is one of the most personal ways to celebrate someone you care about, turning simple paper and creativity into a treasured keepsake. It’s a world away from digital messages, showing real time, effort, and genuine affection went into its creation. This tangible expression of care is precisely why a handcrafted card often means so much more than a quick text.
Why a Handmade Birthday Card Still Matters
In a world buzzing with instant notifications and the often-negative impact of social media, the simple act of creating and giving something by hand has become a truly powerful statement. A handmade card isn't just paper and glue; it’s a physical piece of your time and a tangible representation of your thoughts and feelings for the person you're giving it to.
This personal touch really resonates, especially here in the UK, where the tradition of sending cards remains a cherished part of celebrations. The greeting card market is valued at a staggering £1.7 billion annually, with the average person sending around 30 cards each year. This just goes to show how much we still appreciate physical, thoughtful gestures in our increasingly fast-paced lives.
The Emotional Connection of a Physical Card
Receiving a handmade card communicates a level of care that digital greetings just can't match. It shows you went beyond convenience to create something completely unique. That effort isn’t lost on the person receiving it; it makes them feel seen, valued, and genuinely celebrated. It's a small but significant way to support someone's mental wellbeing.
A handmade card isn't just a message; it's a memory. It’s something that can be kept on a desk, pinned to a board, or tucked away in a special box, serving as a lasting reminder of your connection.
The act of creation itself is also a wonderful way to practise mindfulness and express emotions constructively. The whole process—choosing the right colours, arranging the design, and writing a heartfelt message—can be a calming and rewarding experience. It carves out a moment of quiet reflection focused entirely on another person, which can only strengthen the emotional bond between you. Exploring ways to give the gift of emotional intelligence can enhance these meaningful connections even further.
Ultimately, a handmade birthday card carries an authenticity that mass-produced items will always lack. It’s perfectly imperfect, bearing the unique marks of its creator. It tells a story of affection and effort, making it a truly special gift from the heart.
Building Your Card Making Starter Kit
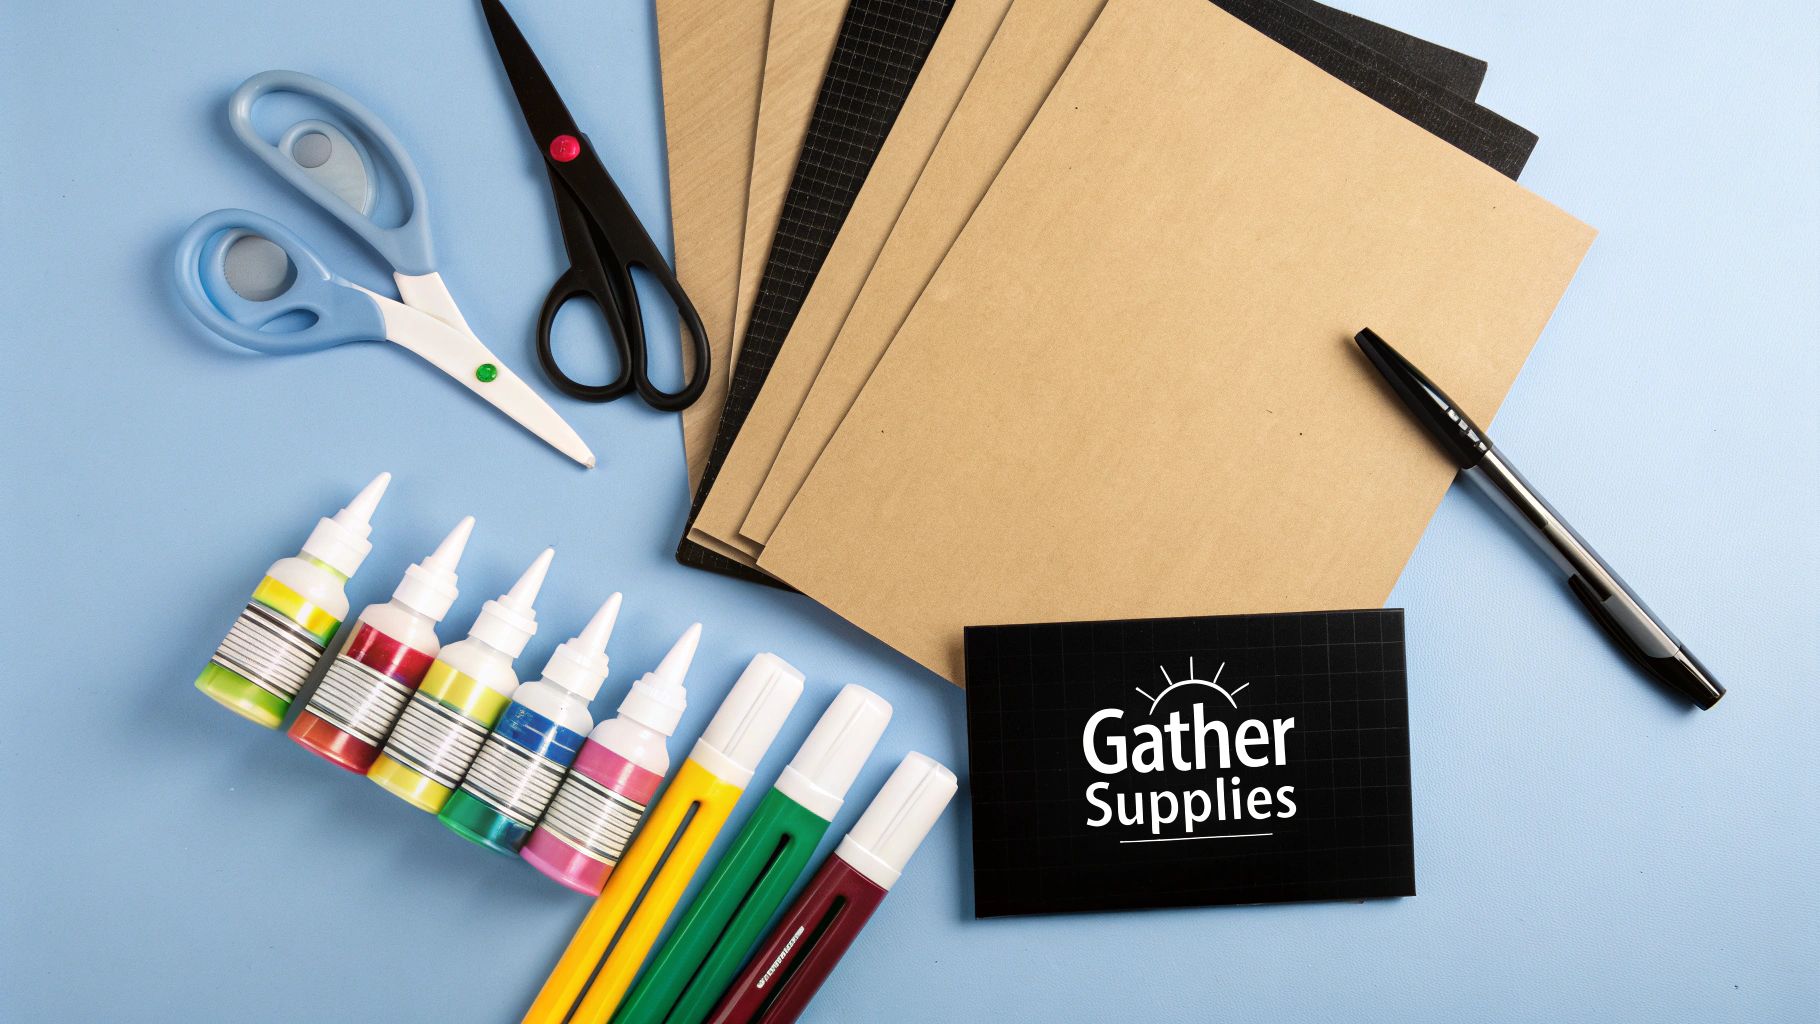
Before you can bring your creative ideas to life, you need the right tools for the job. Putting together a starter kit to make a birthday card handmade doesn't have to break the bank; it’s really about picking a few quality, versatile items that will see you through as you start your crafting journey. Forget being overwhelmed by the craft shop—let’s just focus on what you actually need.
The foundation of any good card is, of course, the paper. Cardstock, which is a heavier and more durable type of paper, is your most important material. For the base of your card, look for a weight of around 250gsm to 300gsm. This gives you a really sturdy structure that won’t buckle when you add other layers or embellishments.
For layering and adding decorative touches, a lighter cardstock of around 200gsm is perfect. It adds colour and texture without making the card too bulky.
This simple graphic breaks down the core process, from gathering your materials to the final assembly.
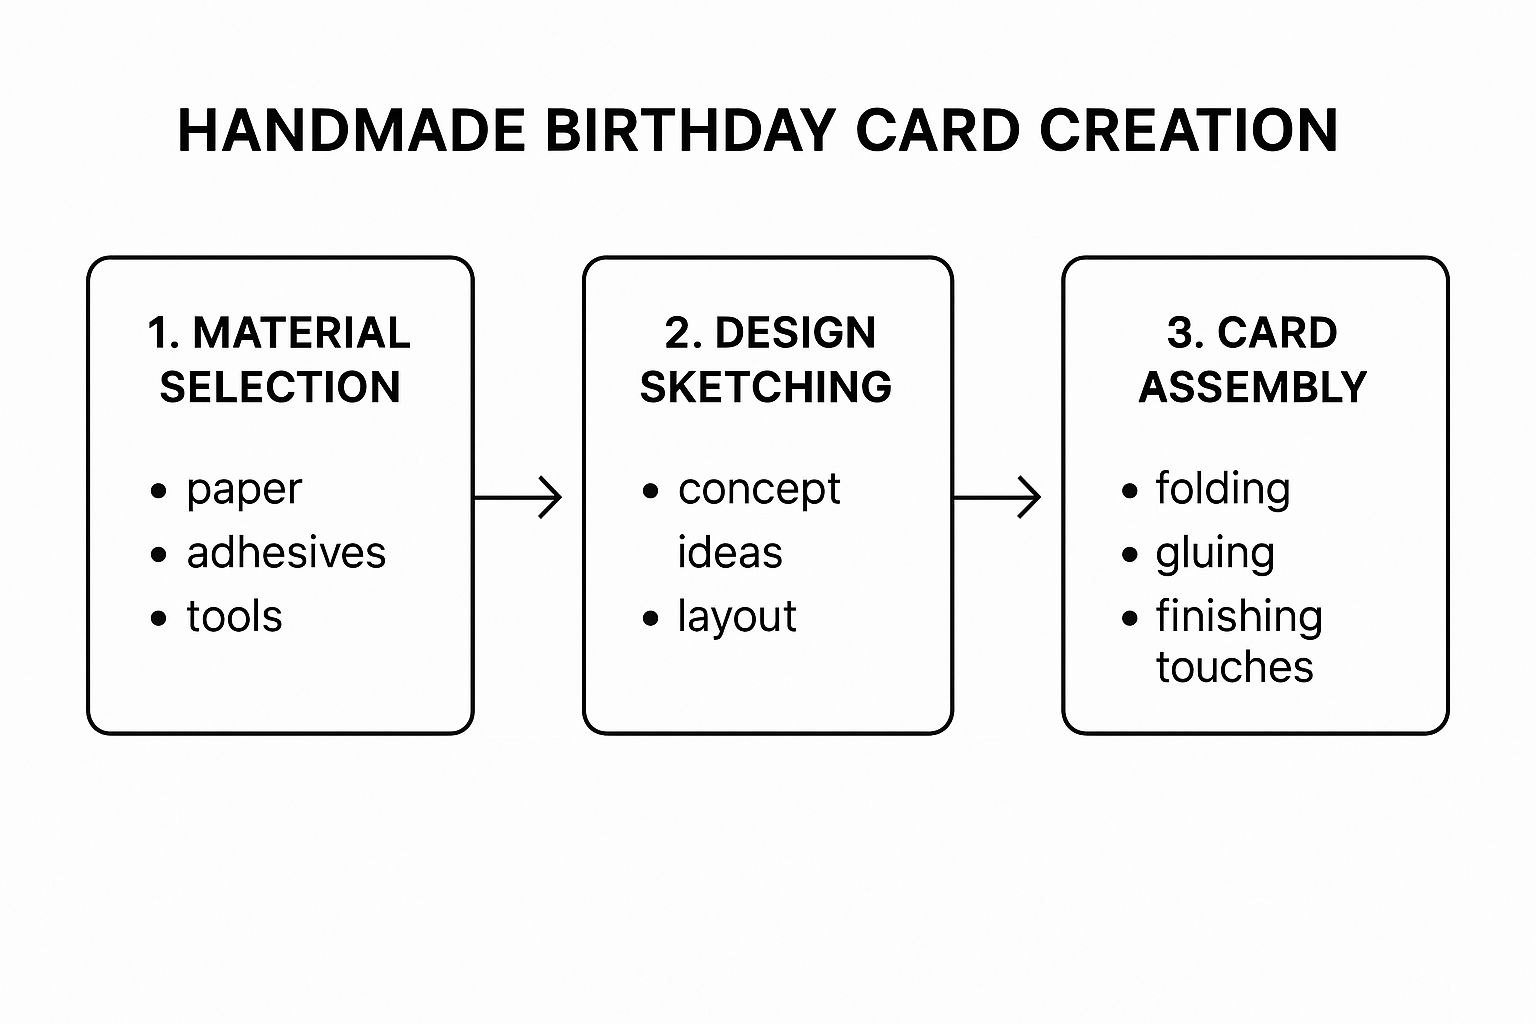
As you can see, having a logical workflow makes the creative process feel so much smoother and far more enjoyable.
Core Tools for Cutting and Sticking
Next up, you need a way to cut and stick everything together precisely. While a good pair of scissors is always handy, the secret to a professional-looking card often lies in clean, straight lines.
You don't need a mountain of supplies to start. A few well-chosen tools will make all the difference, helping you build a solid foundation of skills. Below is a simple table breaking down the absolute must-haves versus the nice-to-have extras you might consider later on.
Essential vs Optional Card Making Supplies
| Item | Why You Need It (Essential) | Consider This (Optional Upgrade) |
|---|---|---|
| Self-Healing Cutting Mat | Protects your table and has a handy grid for measuring. A non-negotiable for clean cuts. | A larger mat for bigger projects or a magnetic one to hold things in place. |
| Craft Knife & Metal Ruler | The dream team for perfectly straight lines that scissors can't achieve. | A rotary cutter can be faster for long, straight cuts, especially on thicker card. |
| Scoring Tool/Bone Folder | Creates a crisp, professional-looking crease for folding, stopping the paper from cracking. | A scoring board makes it super easy to score multiple lines accurately. |
| PVA Craft Glue | A versatile, strong adhesive for sticking flat layers of paper and card. Dries clear. | A glue pen for very fine, detailed work or a stronger glue for heavier embellishments. |
| Double-Sided Tape | Quick, easy, and mess-free for attaching layers together neatly. | Different widths of tape for different tasks. |
| Foam Adhesive Pads | Brilliant for adding dimension. They make elements pop off the card for a 3D effect. | Foam tape on a roll can be cut to any size you need. |
Starting with the essentials in the middle column will set you up for success. Once you feel more confident, you can explore the optional upgrades to expand your creative possibilities.
Adding Colour and Personal Flair
With the basic construction covered, it’s time to add a touch of personality. You really don’t need hundreds of supplies; a small, curated collection is far more effective and less overwhelming.
Why not start with a versatile set of stamps? Simple floral designs or a classic "Happy Birthday" sentiment are great starting points. A black ink pad is a must-have, and you can slowly add a couple of your favourite colours as you go.
Remember, the goal is to build a kit that inspires you, not one that overwhelms you. Start small, master the basics, and add new tools and materials as your skills and confidence grow.
Finally, think about embellishments. A small pack of coloured gems, a roll of ribbon, or even just some nice pens for hand-lettering a message can elevate your card from lovely to truly special. You could even look at mental health apparel for colour and design ideas that promote positivity.
The creative process itself is a fantastic way to connect with your emotions, a theme often explored in our recommended children's books on mental health and wellbeing. This simple, thoughtful craft allows for expression and mindfulness, turning your toolkit into a resource for both creativity and calm.
Bringing Your Card Design to Life
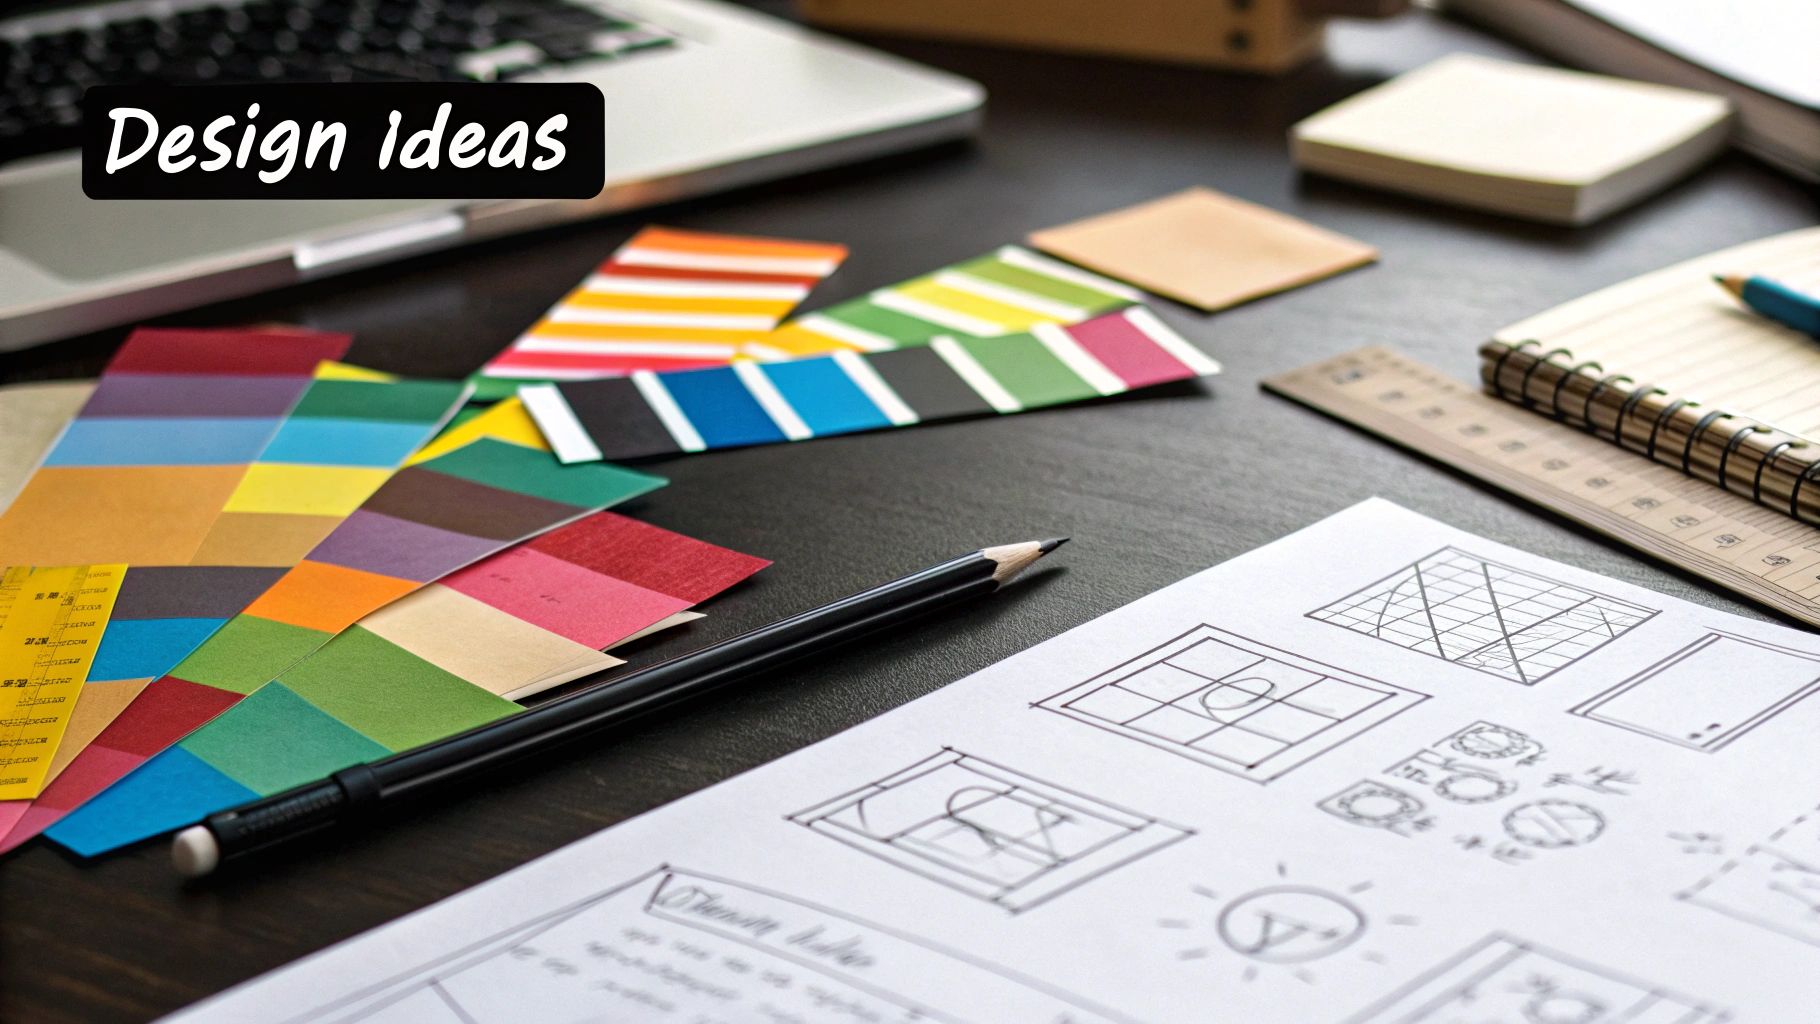
Right, this is where the magic really starts to happen. Bringing your creative vision for a birthday card handmade to life is all about mixing your own style with a bit of the recipient's personality. Don't worry, you don't need to be a professional artist. It’s the thoughtful little choices that create something truly beautiful and meaningful.
First things first: think about who you're making it for. What are their hobbies? Their favourite colours? Are they a fan of modern, minimalist designs, or do they prefer something a bit more vibrant and traditional? A quick sketch can be a game-changer here, helping you see how all the different bits and pieces might work together.
Think about the overall feel you're going for. A clean, simple layout might just need a single focal point, like a beautifully stamped flower. On the other hand, a more dynamic card could involve lots of layers and different textures. This planning stage is where you decide on the story your card will tell.
Choosing Your Colour Palette
Colour is one of the most powerful tools in your card-making kit; it sets the mood instantly. A well-chosen palette can make even the simplest design look incredibly polished and professional.
Instead of just grabbing colours at random, try to create a cohesive look. A great way to start is by picking just three complementary colours: a main one, a secondary shade, and a subtle accent. It’s a simple trick that makes a huge difference.
Here are a few practical examples to get you started:
- For a friend who loves gardening: Think earthy greens, soft pinks, and a pop of sunny yellow. It’s a combination that feels natural and wonderfully cheerful. For example, use a green card base, a pink layer, and stamp a yellow flower.
- For a classic, elegant look: Try pairing a deep navy blue with crisp white. Then, add a metallic accent like gold or silver for a touch of class. A practical example would be a navy card with a white embossed sentiment and gold gems.
- For a bright, modern vibe: Go for bold colours like turquoise and coral, but balance them with a neutral grey to really make them pop. You could create a striped background with turquoise and grey washi tape, adding a coral-coloured die-cut shape on top.
A handy tip is to use a colour wheel, which you can easily find online. It’s a brilliant guide for finding shades that work beautifully together, like colours that are opposite each other (complementary) or next to each other (analogous).
Creating a Balanced Layout
Once your colours are sorted, it’s time to think about arranging everything on your card. This is your layout, and getting the balance right is key to making your birthday card handmade look intentional and pleasing to the eye.
A simple principle I love is the "rule of thirds." Just imagine your card front is divided into a 3x3 grid. By placing your main focus—like a sentiment or a key image—where the lines cross, you often create a design that’s more visually interesting than if you’d just plonked it in the centre.
Layering is another fantastic technique. This just means cutting pieces of cardstock in slightly different sizes and stacking them to create a bit of depth. For example, placing a stamped image onto a slightly larger piece of coloured card frames it beautifully and helps it stand out.
Don't forget about white space, either. That’s the empty area around your design elements. Resist the temptation to fill every single inch of the card; leaving some blank space gives the main features room to breathe and draws the eye to what's most important.
Exploring Different Card Styles
The classic folded card is a brilliant starting point, but there are other styles that can add an extra 'wow' factor to your creation. You really don't need advanced skills to try something a little different.
A popular and surprisingly simple alternative is an easel card. It's folded in a clever way that allows it to stand up all by itself, turning your card into a mini piece of art for their desk or mantelpiece. They are much easier to make than they look and always impress.
Another great option is a gatefold card, where two front panels open from the centre like a pair of doors, creating a lovely reveal for the message inside. Experimenting with different folds is a fun way to take your card making to the next level.
Getting to Grips with the Card Making Essentials
Once you have a design sketched out, it’s time to roll up your sleeves and dive into the techniques that turn a simple piece of card into something truly special. Honing just a few core skills is the secret behind a birthday card handmade that looks beautifully polished and professional, rather than just homemade. These are the building blocks of brilliant card making.
One of the first things you'll want to master is getting that perfectly crisp fold. Have you ever tried to fold a thick piece of card, only for the spine to crack and look messy? The trick is to score it first. By using a bone folder or a scoring tool, you create a neat groove along the fold line before you even think about bending it.
This simple step compresses the paper fibres, allowing them to bend smoothly without breaking. It’s a tiny detail, but it makes a world of difference to the finished product, giving your card that sharp, clean edge.
Adding a Touch of Class with Stamping and Embossing
Stamping is a fantastic way to add detailed images or lovely sentiments without having to draw everything by hand. The secret to a crisp, clear stamped image is all about even pressure and good quality ink. Make sure the stamp is fully inked up, then press it down firmly onto your cardstock. The key is to press straight down and lift straight up—no rocking!
If you want to take your stamping to the next level, you have to try heat embossing. It might sound a bit technical, but it’s surprisingly simple and the result is a stunning, raised, glossy finish that you can feel.
Here’s how it works:
- Stamp your design using a special slow-drying embossing ink (sometimes called a pigment or watermark ink).
- Sprinkle embossing powder all over the wet ink. It’ll stick right where you stamped.
- Tap off the excess powder onto a spare piece of paper (you can pour it back into the pot!).
- Use a heat tool to melt the powder. Watch closely as it transforms into a smooth, shiny, raised design.
The effect is pure magic and gives your card an incredibly high-end, tactile quality. It's a brilliant way to make a simple "Happy Birthday" wish the undeniable star of your design. Of course, knowing how to make these elements work together comes down to understanding some basic design principles.
Creating Depth and Dimension
A flat card can be lovely, but adding layers and a bit of dimension can instantly make your creation feel more dynamic and engaging. One of the easiest ways to do this is with small, double-sided foam adhesive pads or a roll of foam tape.
Instead of just gluing layers of cardstock flat against each other, stick a few foam pads on the back of an element before attaching it. This lifts it slightly off the surface, making it 'pop'.
This simple 3D effect creates subtle shadows and depth, drawing the eye towards your focal point and giving your handmade birthday card a more structured, professionally crafted look.
Imagine you've stamped a beautiful flower. You could carefully cut it out, then mount it on foam pads over a patterned background. That tiny bit of lift is all it takes to transform a simple design into something with real visual punch. Getting comfortable with these foundational skills—scoring, stamping, embossing, and layering—will give you the confidence to bring any creative idea to life.
Adding Embellishments and Personal Touches
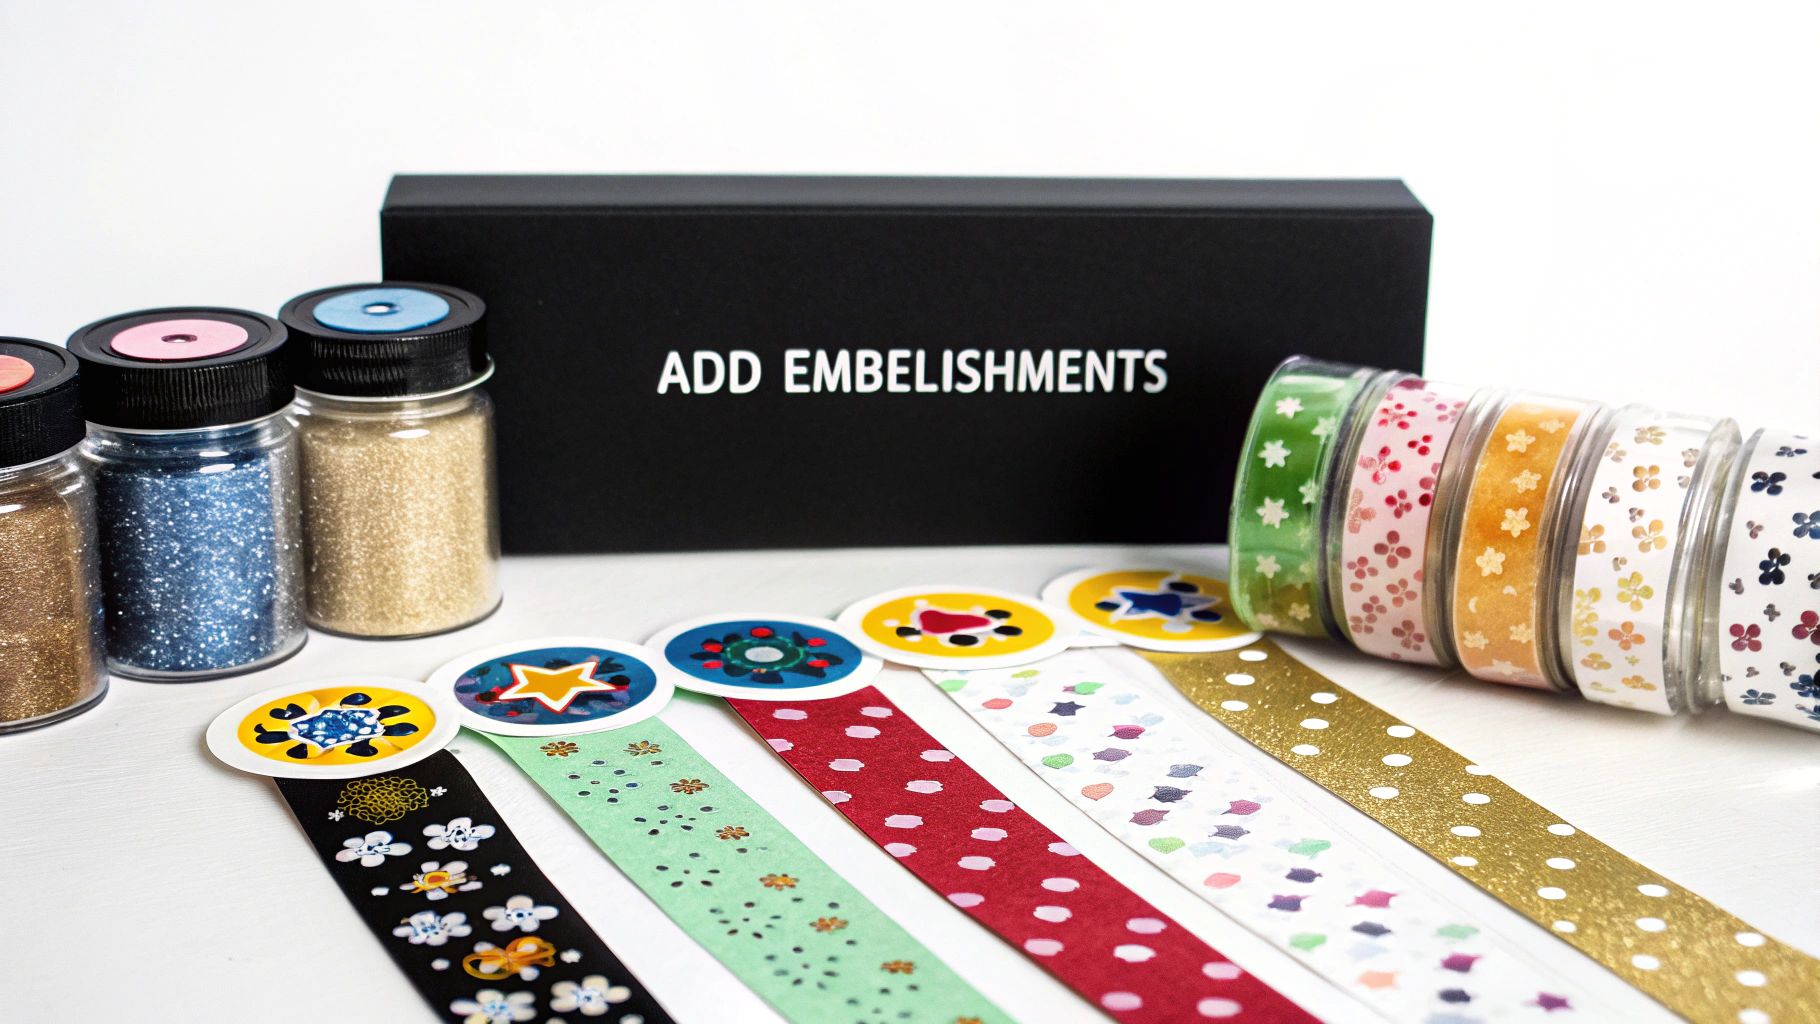
This is my favourite part. The final flourishes are what take a lovely card and turn it into a treasured keepsake. It's here, in the small details, that a birthday card handmade becomes truly one-of-a-kind.
Embellishments aren't about cluttering the design. They’re about adding intentional pops of texture, a little bit of shine, and a whole lot of personality to complete your vision. Think of them as the final brushstrokes that bring the whole piece together. A simple card can be totally transformed with a strategically placed ribbon, a few sparkling gems, or some modern washi tape. These elements create visual interest and a tactile quality that just begs the recipient to look closer.
Finding the Right Decorative Touches
The trick is to choose embellishments that complement your design rather than overwhelm it. I’ve learned over the years that "less is more" is often the best approach. A small, odd-numbered cluster of three gems, for example, looks far more deliberate and elegant than scattering them all over the card front.
If you're wondering where to start, here are a few classic options that never fail:
- Ribbons and Twine: A simple knot or a neat bow adds a touch of softness and traditional charm. Try wrapping it around a card layer or tying it through a punched hole for a lovely effect.
- Buttons: These are fantastic for adding a rustic, homely feel. I love using a single button as the centre of a flower or just as a simple decorative accent.
- Die-Cut Shapes: Pre-cut shapes like hearts, stars, or intricate florals are a super quick way to add a professional-looking element without any complex cutting on your part.
- Washi Tape: This decorative paper tape is brilliant. Use it to create clean borders, add a fun strip of pattern, or even secure small elements in a stylish way.
Choosing the right embellishments is about enhancing the story your card is already telling. For a modern, clean design, a sleek metallic die-cut might be perfect. For a rustic, nature-themed card, a bit of twine and a wooden button would fit beautifully.
Infusing the Card with Personality
Beyond the decorative items you can buy, the most powerful touches are the ones that are deeply personal. This is what truly sets your creation apart from anything store-bought. It’s about weaving shared memories and inside jokes into the fabric of your card, making the person feel genuinely seen and celebrated.
For a really unique and personal flair, you could even learn how to create your own custom stickers to add little references or favourite images that only the two of you would understand.
More Ideas for Personalisation
Ready to make it unforgettable? Here are a few ways I love to add that personal spark:
- Tuck in a Small Photo: A picture of a happy memory you share is always a wonderful surprise.
- Reference a Shared Memory: A hand-lettered quote from a film you both love or a tiny doodle representing an in-joke can be incredibly meaningful.
- Use Their Favourite Colours: Go beyond a generic palette and incorporate the specific shades you know they adore.
- Write a Heartfelt Message: Ultimately, the words inside are the most personal touch of all. Take a moment to write something genuine from the heart.
These personal details are what transform your card from a simple craft project into a treasured piece of your relationship. It becomes a gift that will be remembered and cherished long after the birthday has passed.
Your Handmade Card Questions Answered
When you're first dipping your toes into making your own cards, it's completely normal to have a few questions pop up. I've gathered some of the most common queries I hear to help you get started with a bit more confidence and really enjoy the process.
What Is the Best Type of Glue for Making Cards?
This is a great question, and the honest answer is: it depends entirely on what you’re trying to stick down.
For sticking flat layers of paper or card together, a good liquid PVA craft glue or some strong double-sided tape will give you a secure, even bond without any lumps or bumps. If you’re aiming to create a bit of dimension and lift some elements off the page, small foam adhesive pads are an absolute game-changer.
But what about heavier bits and pieces, like buttons or little metal charms? For those, you'll need something with a bit more muscle. A clear, strong gel adhesive or even a hot glue gun will make sure those embellishments stay put, giving your card a durable, high-quality finish.
How Can I Make My Handmade Card Look More Professional?
That professional, polished look really comes down to mastering the small details. It's the little things that make a huge difference.
First up, always use a scoring tool before you fold your main card. This simple step creates a perfectly crisp crease and stops the card from cracking along the fold line. Secondly, aim for flawlessly straight cuts. The best way to do this is with a sharp craft knife, a metal ruler, and a self-healing cutting mat.
My final secret weapon? Using high-quality materials. A sturdy card base made from cardstock that's at least 250gsm provides a substantial, premium feel that instantly makes your creation look and feel more special.
Where Can I Find Inspiration for My Card Designs?
Honestly, inspiration is everywhere once you start looking!
Visual platforms like Pinterest and Instagram are fantastic places to start. Just search for terms like 'handmade card ideas' or 'papercraft inspiration' and you'll find a sea of beautiful designs. The trick is not to copy a design exactly, but to use these images as a springboard for your own creativity. You can also explore mental health books with positive or calming cover art for colour and theme ideas.
The creative process is a wonderful way to express yourself and manage stress. Simple relaxation tips like focusing on your breathing, putting on some calming music, or simply allowing yourself to get lost in the activity can turn card making into a mindful practice. For younger crafters, it's also a brilliant way to explore their feelings. For more on that, you might find these kids' mental health activities really helpful. Please remember, I am not a mental health professional. If you have concerns about your own or someone else's mental health, it is important to seek help from a doctor or a qualified professional.
At Little Fish Books, we believe in the power of creativity to nurture emotional wellbeing. Explore our collection of books, activities, and merchandise designed to support young minds. Start exploring today.